Quick Installation of Gitea
Git with a cup of tea! Painless self-hosted all-in-one software development service, includes Git hosting, code review, team collaboration, package registry and CI/CD.
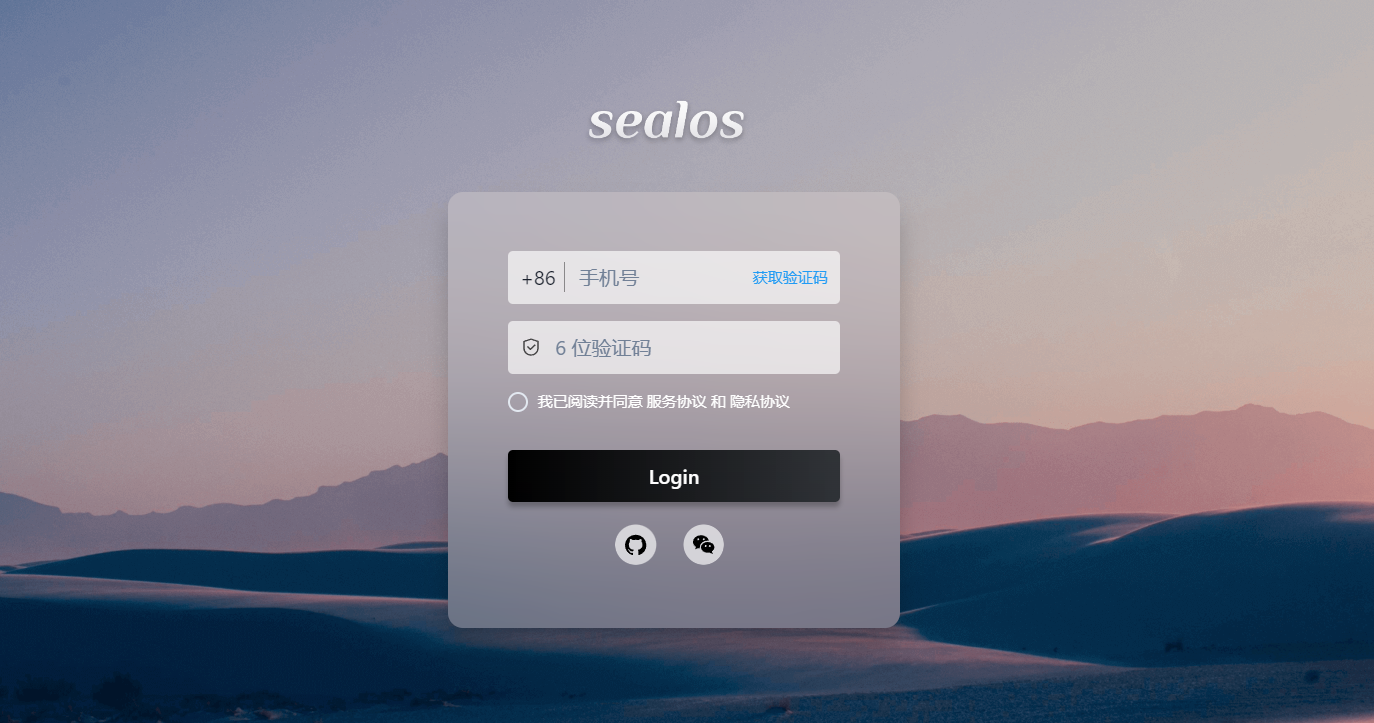
Step 1: Log in to Sealos
- Go to the Sealos official website
Step 2: Open the App Launchpad

Step 3: Create a new application
- In App Launchpad, click "Create New Application" to create a new application.

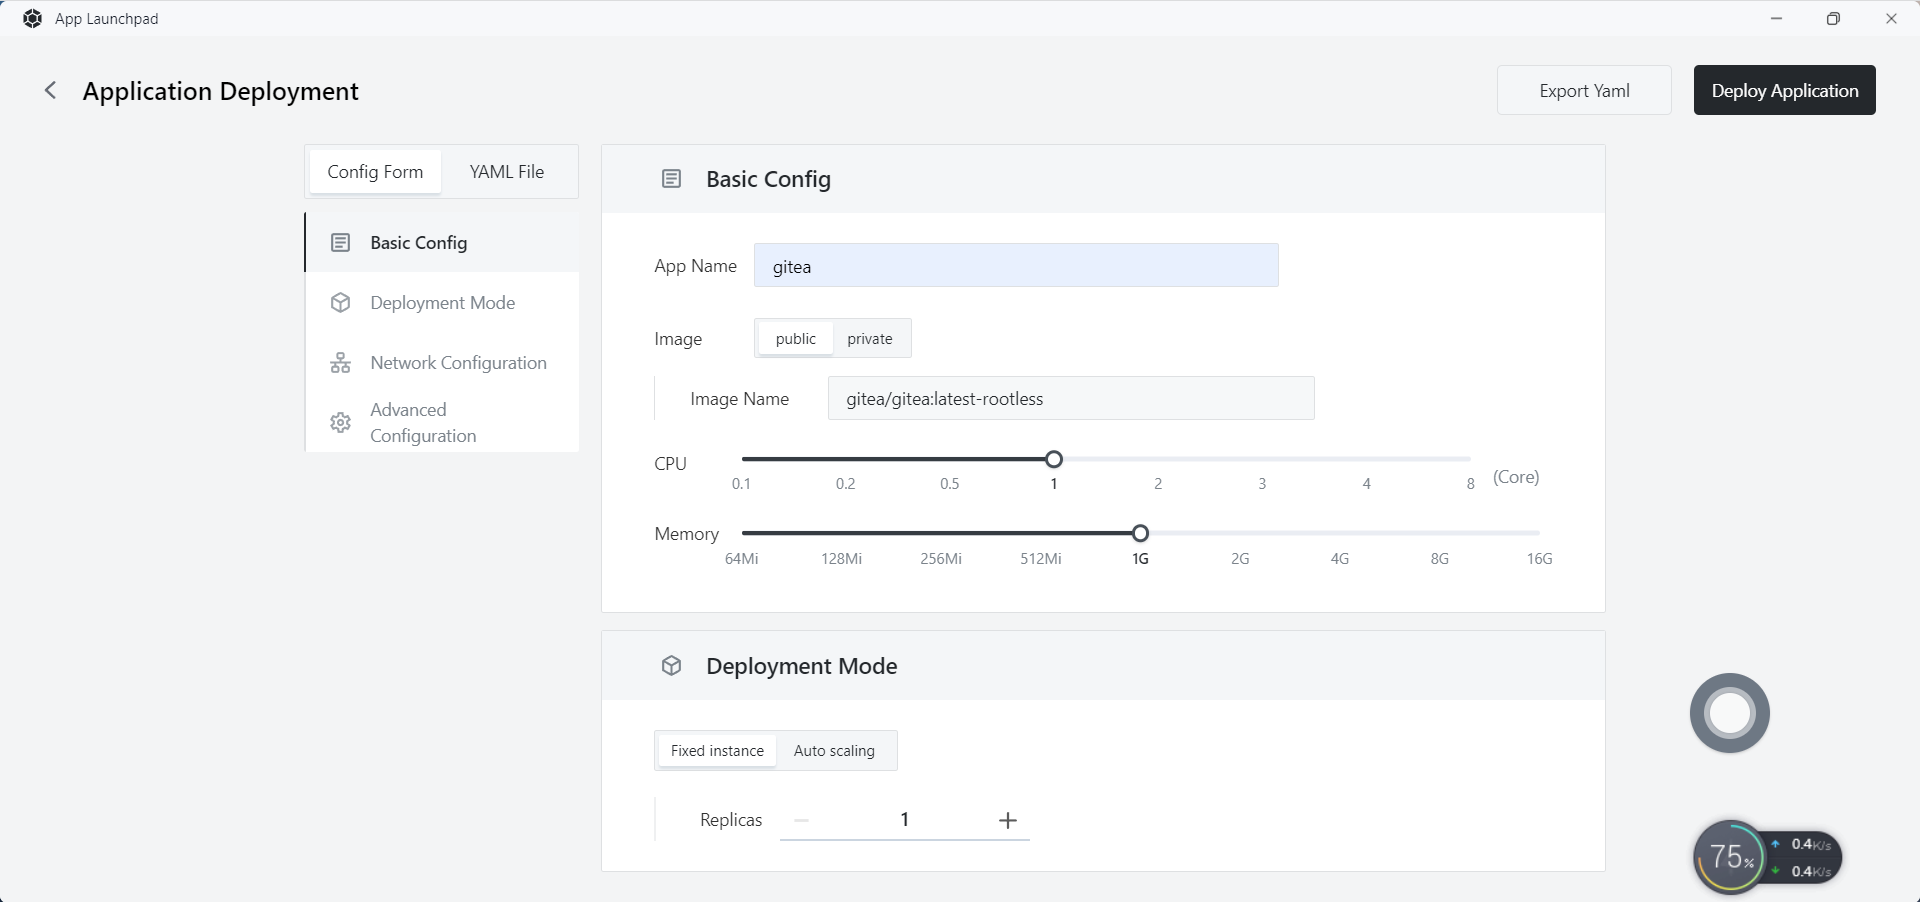
Step 4: Application deployment
Basic configuration:
- Application name (custom): gitea
- Image name (default latest version): gitea/gitea:latest-rootless
- CPU (recommended): 1 Core
- Memory (recommended): 1 G
Deployment mode:
- Number of instances (custom): 1
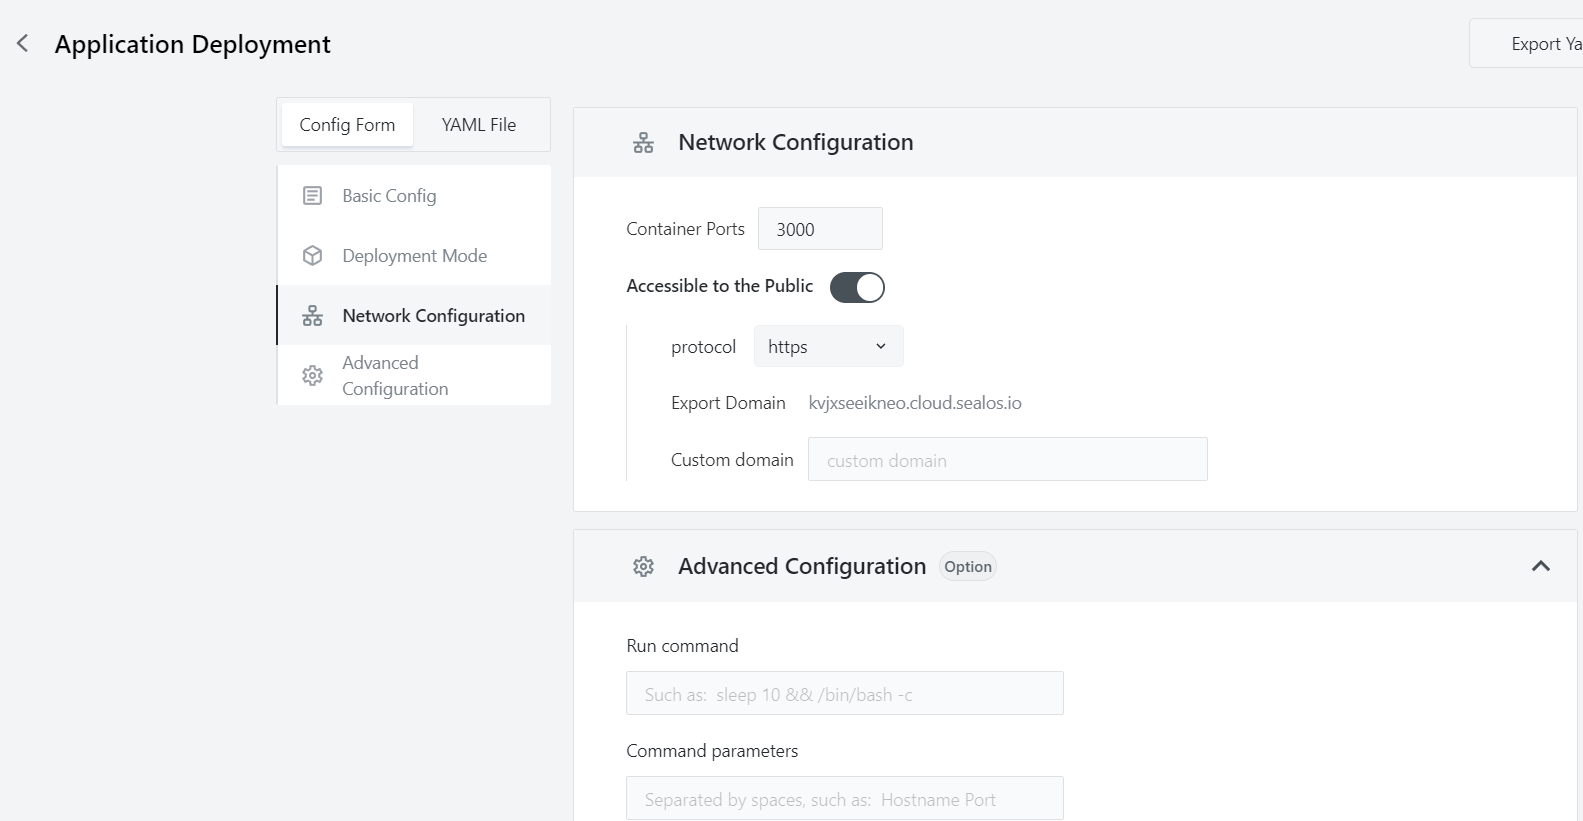
Network configuration:
- Container port: 3000
- Accessible to the Public: enabled
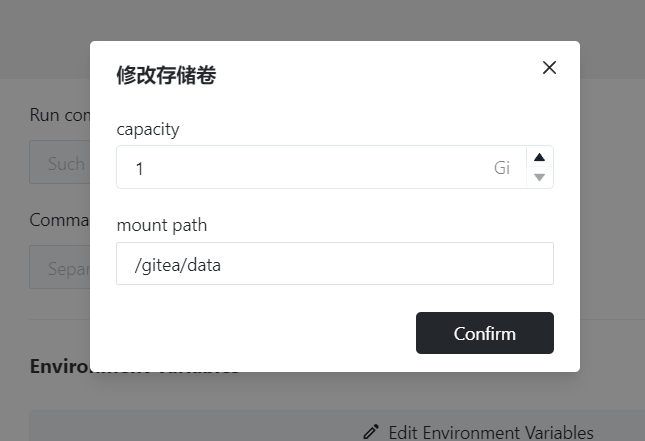
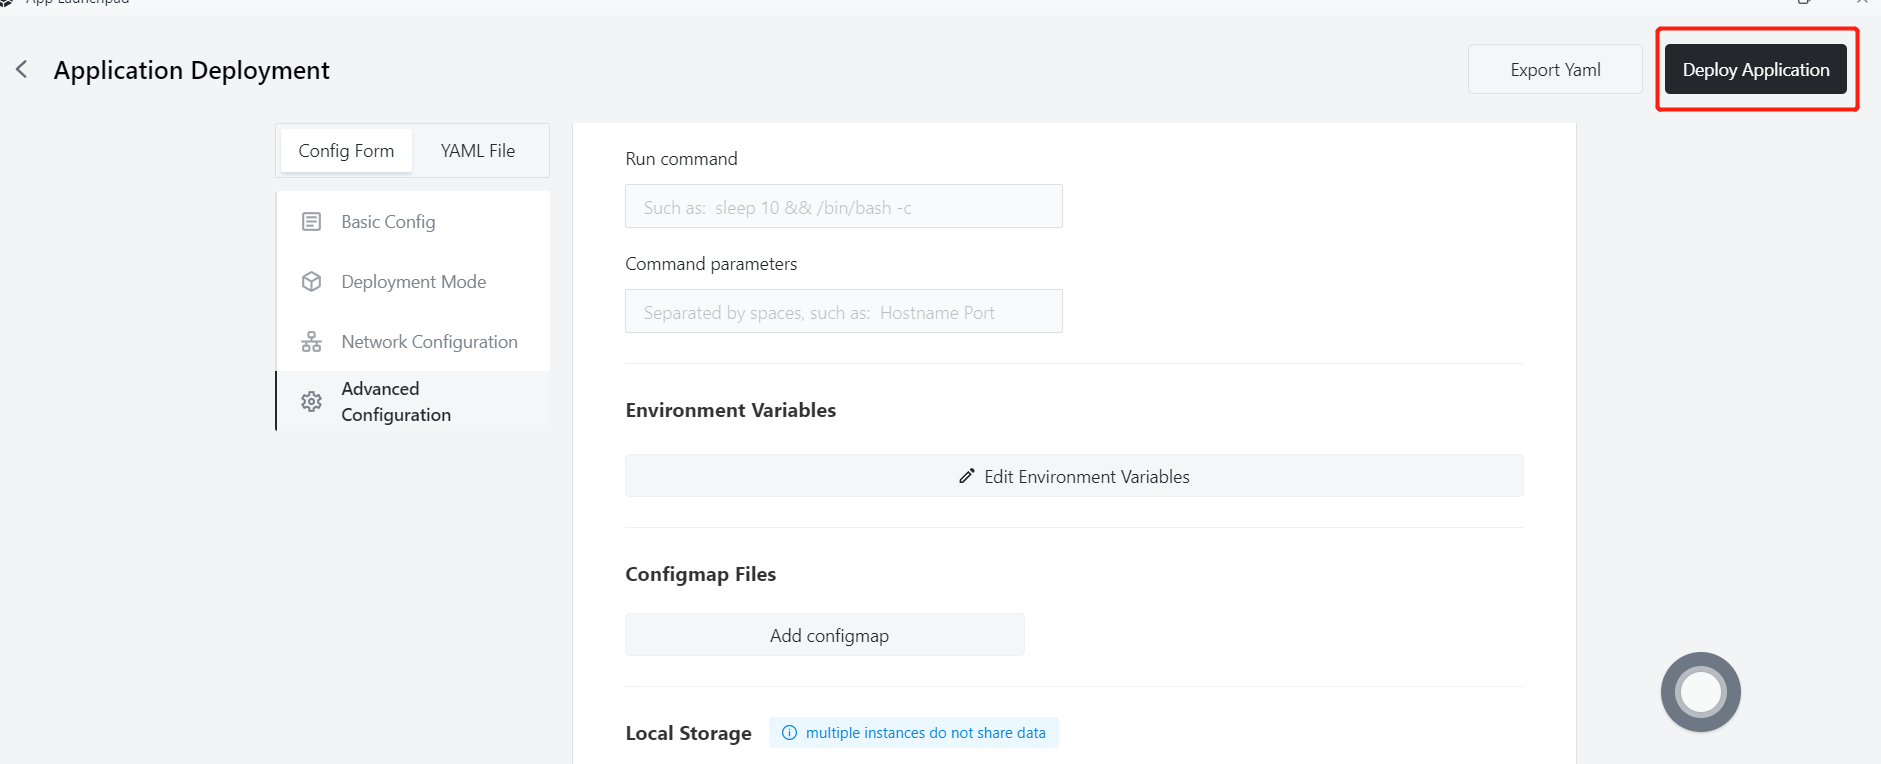
Advanced configuration:
- Custom local storage, persist Gitea data (recommended 1 G).
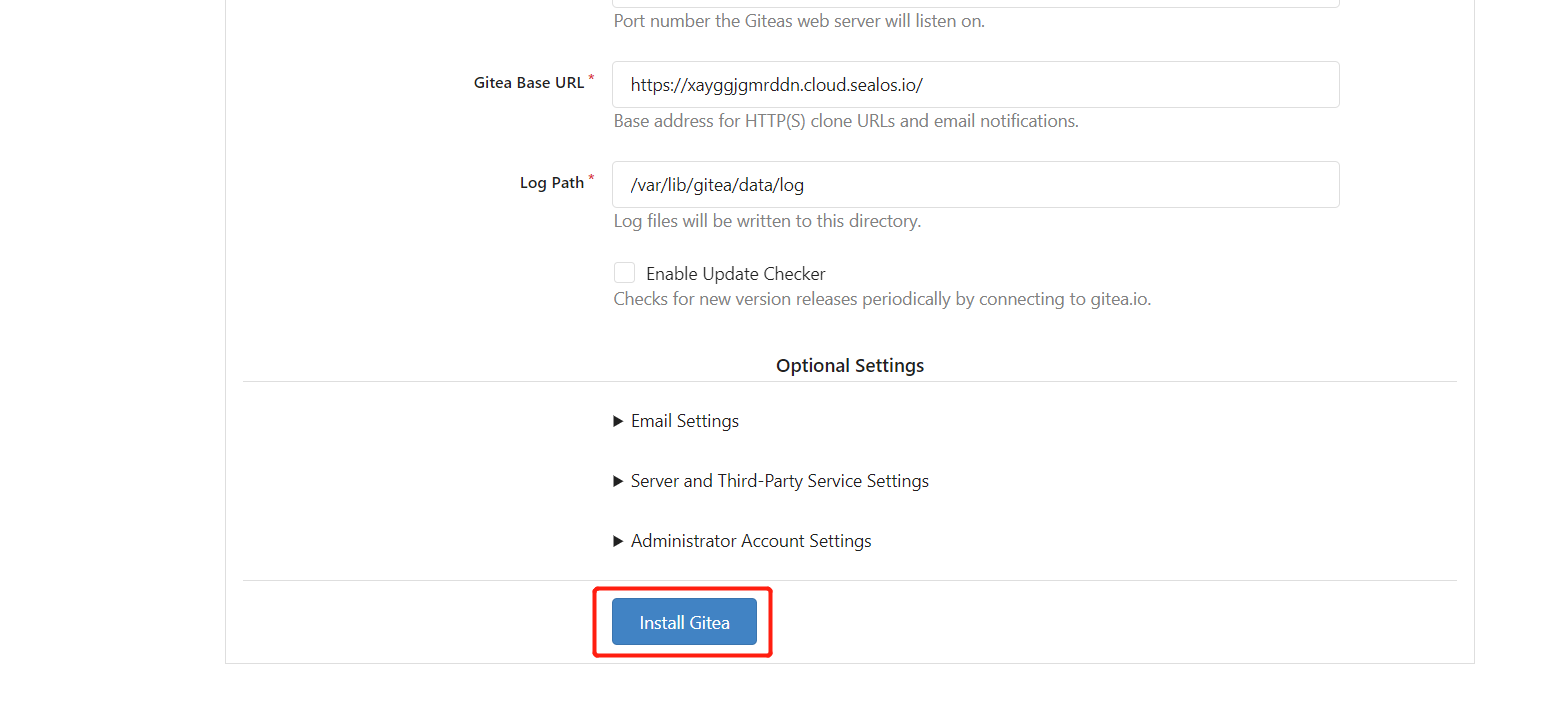
Step 5: Deploy the application
- Click「Deploy Application」 to start deploying the application.
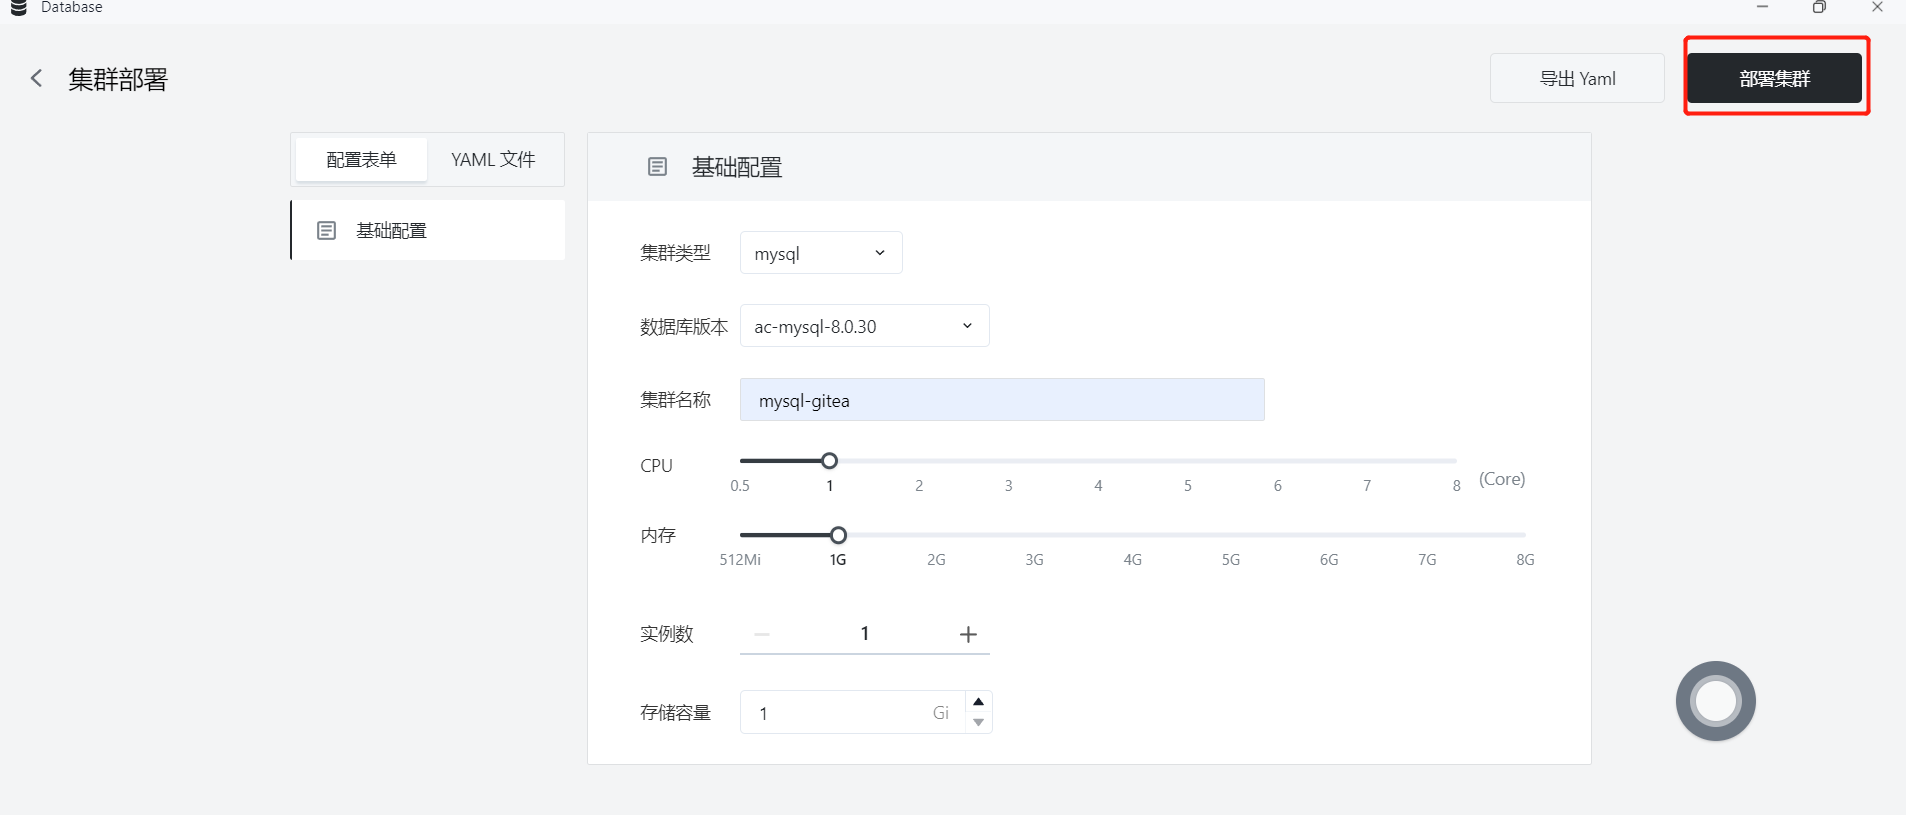
Step 6: Configure the database
- Configure MySQL database for Gitea via Sealos
- Click Database

- Create a new database

Basic configuration:
- Cluster type: mysql
- Database version: ac-mysql-8.0.30
- CPU (recommended): 1 Core
- Memory (recommended): 1 G
- After deployment is successful, enter the details page to view the MySQL connection information

- Click "One-click Connection" to enter the MySQL terminal connection

- Execute
CREATE DATABASE giteadb CHARACTER SET 'utf8mb4' COLLATE 'utf8mb4_unicode_ci';
Create the database needed for Gitea

Step 7: Access the application
Click 「App Launchpad」 to view.When the application's STATUS changes from Pending to Running, it means the application has started successfully.
When the STATUS is Running, you can directly access the external address.

- After accessing the external address, enter the configuration page and configure according to the details of the MySQL just created
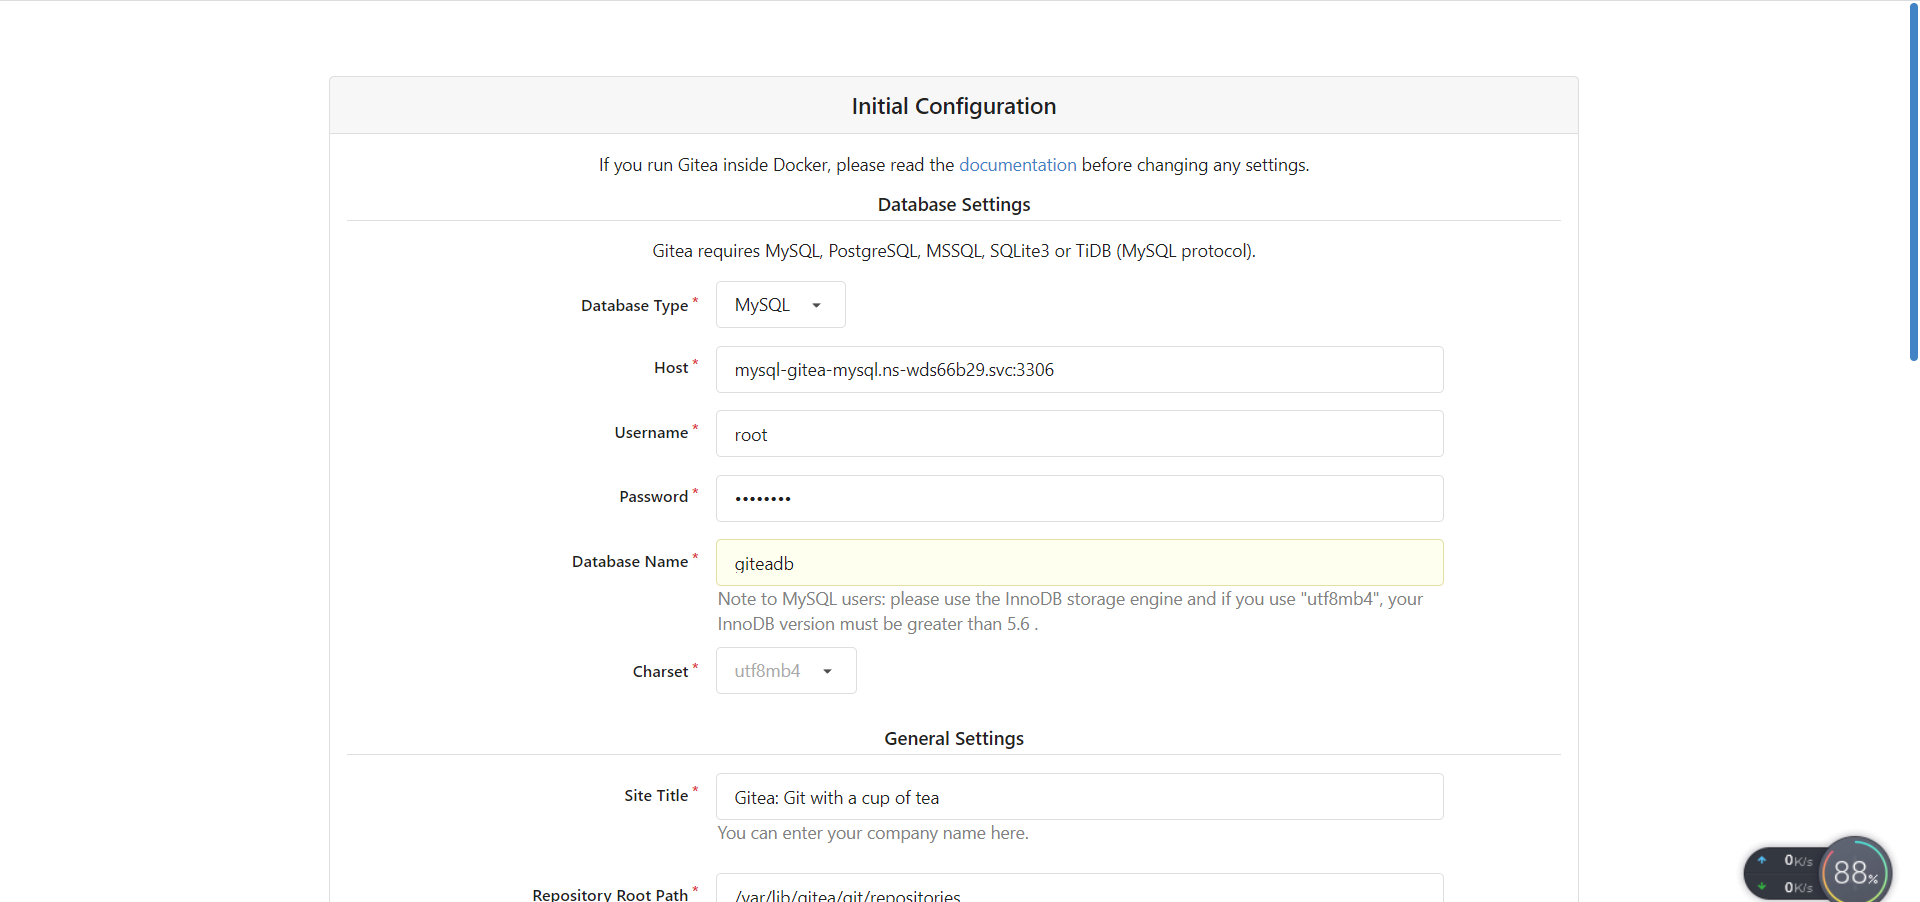
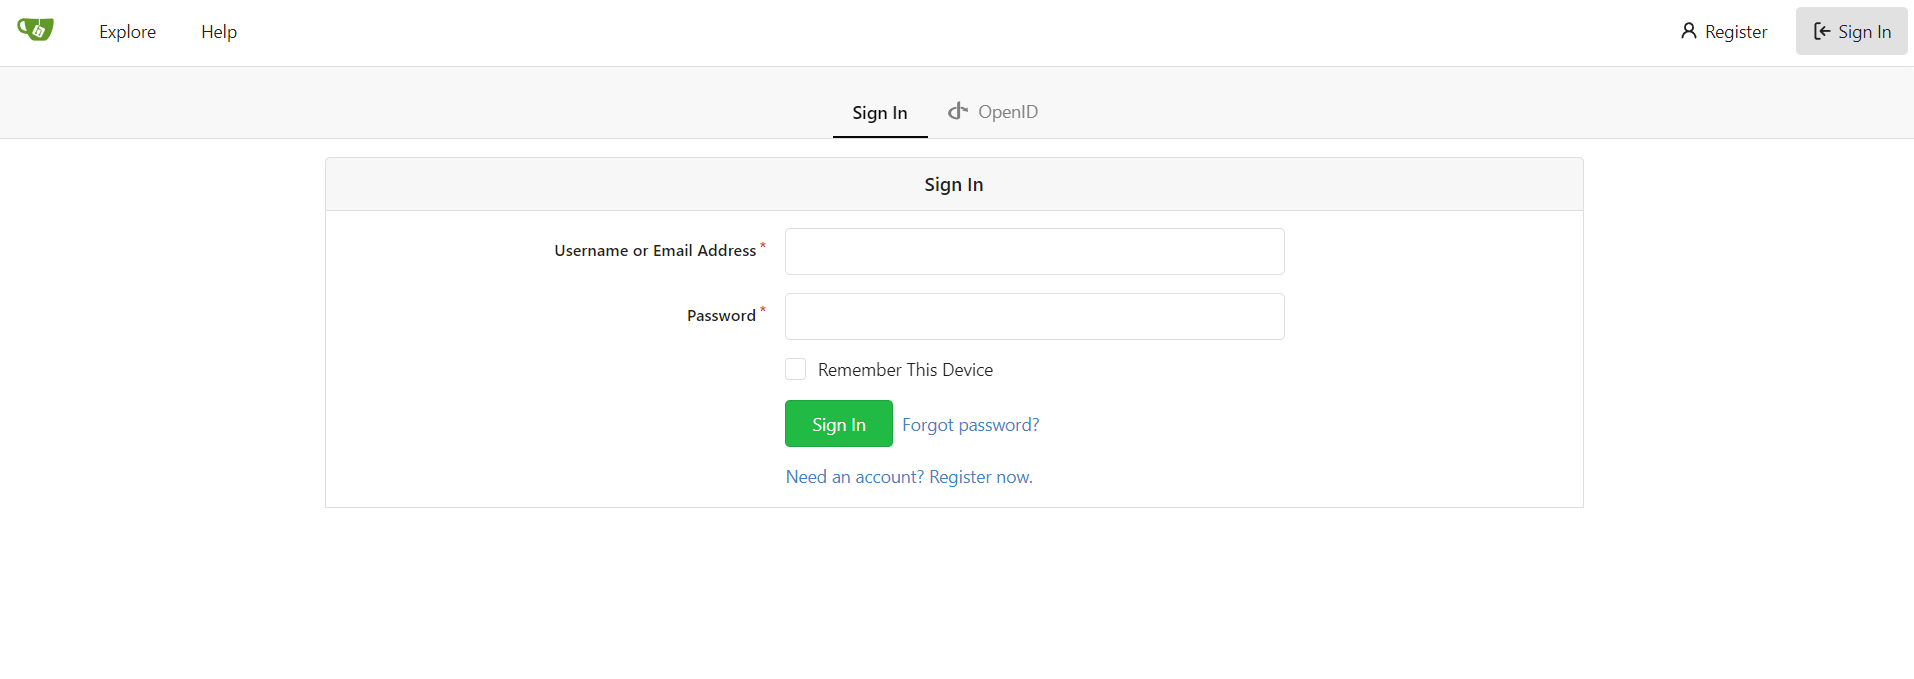
- After configuring, click Install, wait for a while and you can enter the login page, deployment successful!